I have had a Synology DiskStation DS218+ for a little over a year but had not done anything with it beyond SMB shares. I had a reason to setup a local hosted git repository and decided to go all out and setup GitLab instead of a command line only git server. First thing first I would need was more than the 2Gig of ram the NAS came with. There is a single accessible slot which officially seemed to only support 4 gig sodimm, but 8 gb ddr3 sodimms exist and other posts I found said it works. I order an 8GB Crucial DDR3L 1866 sodimm CT102464BF186D and it is working great. 10GB of ram installed yay.
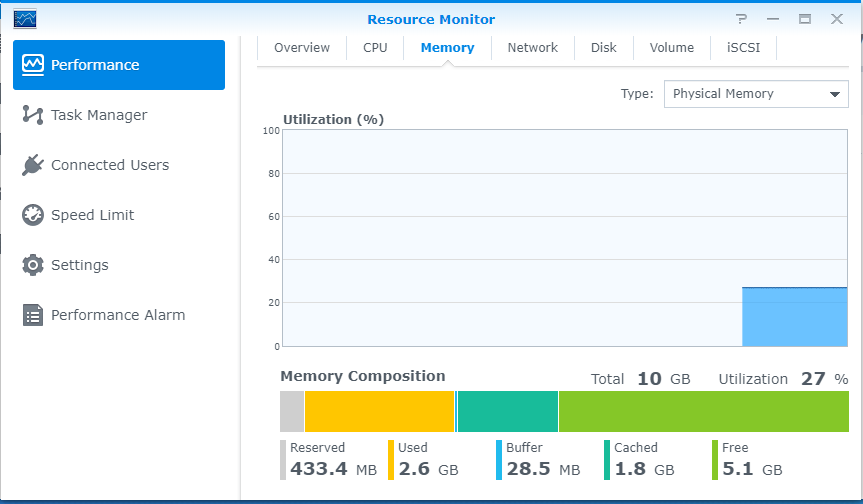
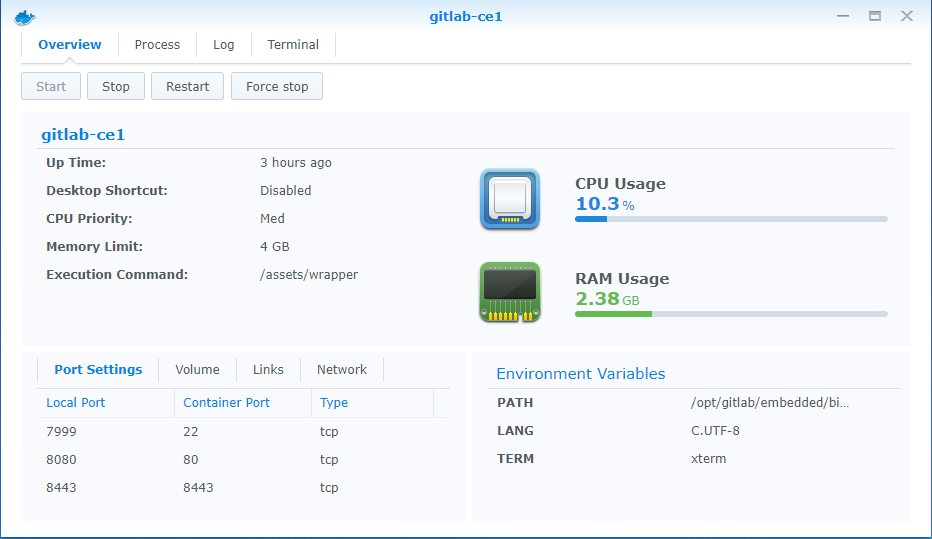
And oh yeah it was needed. Just barely been running the container is using 2.38 GB
Mostly followed this guys post, https://mlohr.com/gitlab-on-a-diskstation/ I did map 8443 to 8443, and configured gitlab to run the nginx server on 8443. Mostly so that password reset and registration emails have a url that works. That is documented https://docs.gitlab.com/omnibus/settings/nginx.html Generating a self signed certificate was easy enough, but apparently chrome doesn’t trust self signed certificates even when installed in windows Trusted Root Certification Authorities Certificate Store with a matching Common Name (CN) but no Subject Alternate Name (SAN). That was quite tricky.
To change the SSL port, I was also perplexed on how to get into the container as root or a full sudo account. SSH port was working but seems to only accept key based authentication, not that I knew what the root password was anyhow. In the Synology GUI there does not seem to be anyway to execute docker commands. I have since figured out that I could have ssh’d into the Synology then done
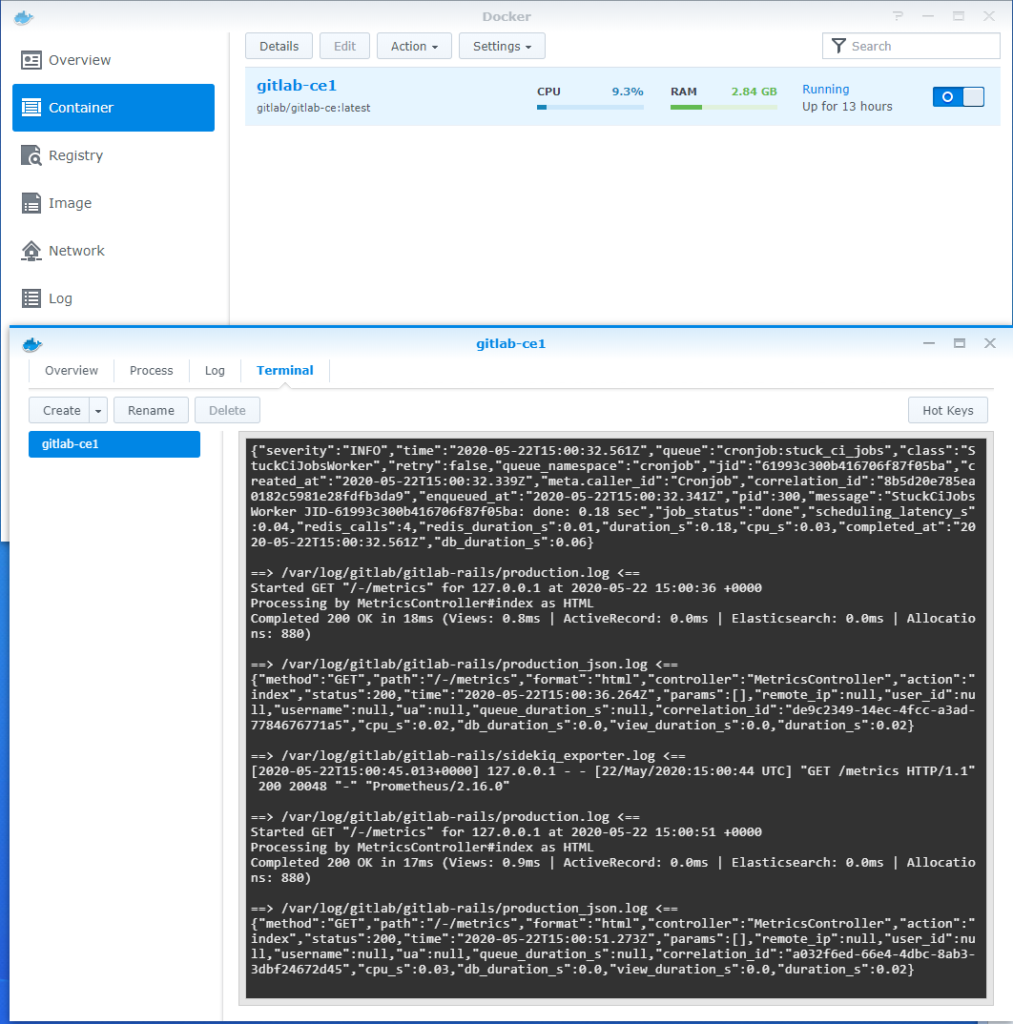
sudo docker exec -it gitlab-ce1 /bin/bashWhat I figured out first was a way in the Synology GUI to launch a terminal. Open the Synology docker app -> Container in sidebar -> select the running container -> Details button -> the lower window opens -> click Terminal along the top -> Click the create button. It seems to be hard coded to try /bin/bash which is fine by me.
I could edit /etc/gitlab/gitlab.rb with VIM, but this was not a problem since I could access the config directly through SMB and use notepad++ since it is a mapped volume outside of the container. More importantly getting shell access let me run
gitlab-ctl reconfigureThis page is where I finally found clear-ish instructions on what is required to generate a Certificate Signing Request (CSR) with a SAN http://wiki.cacert.org/FAQ/subjectAltName. On a Linux install I copied /etc/pki/tls/openssl.cnf to working directory, uncommented
req_extensions = v3_req # The extensions to add to a certificate requestAdded subjectAltName = @alt_names to the existing v3_reg section and added the alt_name section. SERVER_NAME is not what I actually used.
[ v3_req ]

# Extensions to add to a certificate request

basicConstraints = CA:FALSE
keyUsage = nonRepudiation, digitalSignature, keyEncipherment
subjectAltName = @alt_names

[alt_names]
DNS.1 = SERVER_NAME
Finally with all that preparation it’s time to generate key, csr, and sign it. It seems that the -config and -extensions arguments are required. That took me quite a bit of googling to figure out. I didn’t want to go through the whole make my own Certificate Authority (CA).
openssl genrsa -out key.pm
openssl req -new -out server.csr -key key.pm -config openssl.cnf
openssl req -x509 -sha256 -days 730 -key key.pm -in server.csr -out server.crt -config openssl.cnf -extensions v3_req
Last thing worth noting is that once I had installed the certificate into the gitlab container, and my workstation root store I had no warning accessing the gitlab web interface, but I chose to use the same name as the NAS itself for reasons. The Synology certificate being presented cause google to just throw up a big NOPE.

I just used firefox which doesn’t use the windows certificate store to get back into the Synology web interface and apply my self signed certificate, https://www.synology.com/en-us/knowledgebase/DSM/tutorial/Network/How_to_enable_HTTPS_and_create_a_certificate_signing_request_on_your_Synology_NAS
EDIT: So I actually had stability issues when the extra ram was installed. Don’t have any systems with DDR3 so-dimms to memtest the module. Ended up relocating the gitlab docker to CentOS vm on my xcp-ng server. That was quite the learning process too, and how to replace the image with a newer version. Another reason was the synology drives never seemed to spin down when running the gitlab docker image.